
By: Missy Warner of Lee & Me (Formally MissEverLee Designs)
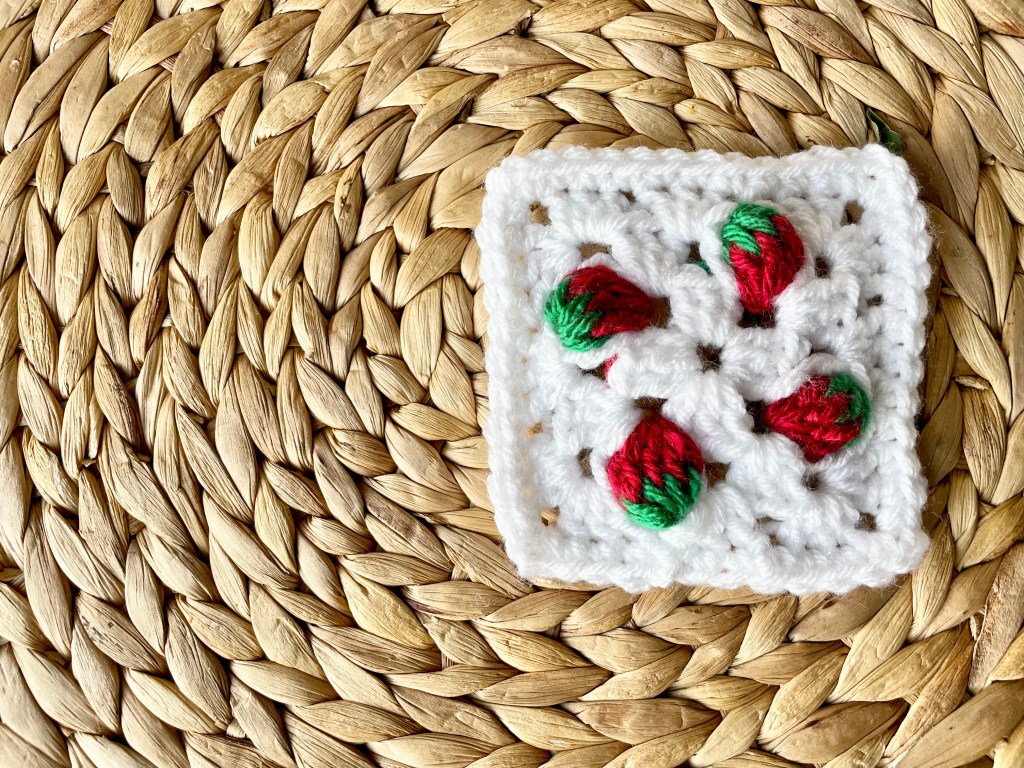
The pattern is for one single square. Make many squares to create whatever you’d like. mix them with regular granny squares by replacing the Strawberry Stitch with a normal Granny Stitch (3 dc in the same stitch)
Supplies:
- Crochet hook size that your yarn calls for
- Scissors
- Yarn needle
- Red, green, white yarn preferably in the same type of yarn for consistency*
*Let your creativity go wild, for writing purposes I will be using the colors in the video. Remember white yarn can be replaced with any color you want for the background of the strawberry. We’ve also seen the red yarn replaced with all kinds of colors from pink to blue. Feel free to scroll down past the pattern. We’ve linked a compilation video of different projects makers have made using this pattern.
Abbreviations:
- ch – Chain
- dc – Double Crochet
- gs – Granny Stitch
- mc – Magic Circle
- sk – Skip Stitch
- ss – Slip Stitch
- st – Stitch
- sgs – Strawberry Granny Square
- yo – Yarn Over
Pattern notes:
When a series of stitches repeat, the series of stitches will be in parenthesis ( ). After the parenthesis it will say times “x” and then the number of times the series of stitches will need to be repeated. This number is the total amount of times you will repeat the section in parenthesis. Example: (3dc, ch2) x2 is the same as 3dc, ch2, 3dc, ch2.
For specific stitches, I have added * next to them. You can look below the row instructions and see the stitch being explained in detail. This will only occur when the stitch is first introduced in the pattern.
There will be a stitch count in parenthesis ( ) at the end of each row.
Pattern is wrote in US Terms.
Instructions:
Row 1: White yarn. mc, ch3, 2dc* in mc, ch2, (3gs**, ch2)x3, ss into the 3rd ch from the beginning of the row. Do not turn. (20)
*Double Crochet: yo, insert hook into hole (st or mc), yo, pull up a loop, yo, pull through 2 loops, yo, pull through 2 loops.
**Granny Stitch: 3 double crochets in same hole (st or mc)
Row 2: ch3, sk 3 st’s, work st’s only in the ch2 spaces from the previous row, you are making 4 corners. (gs, ch2, sgs***, sk 3 st’s)x2, gs, ch2, sgs but replace the last dc by ss to the ch3 from the beginning of the row. (32)
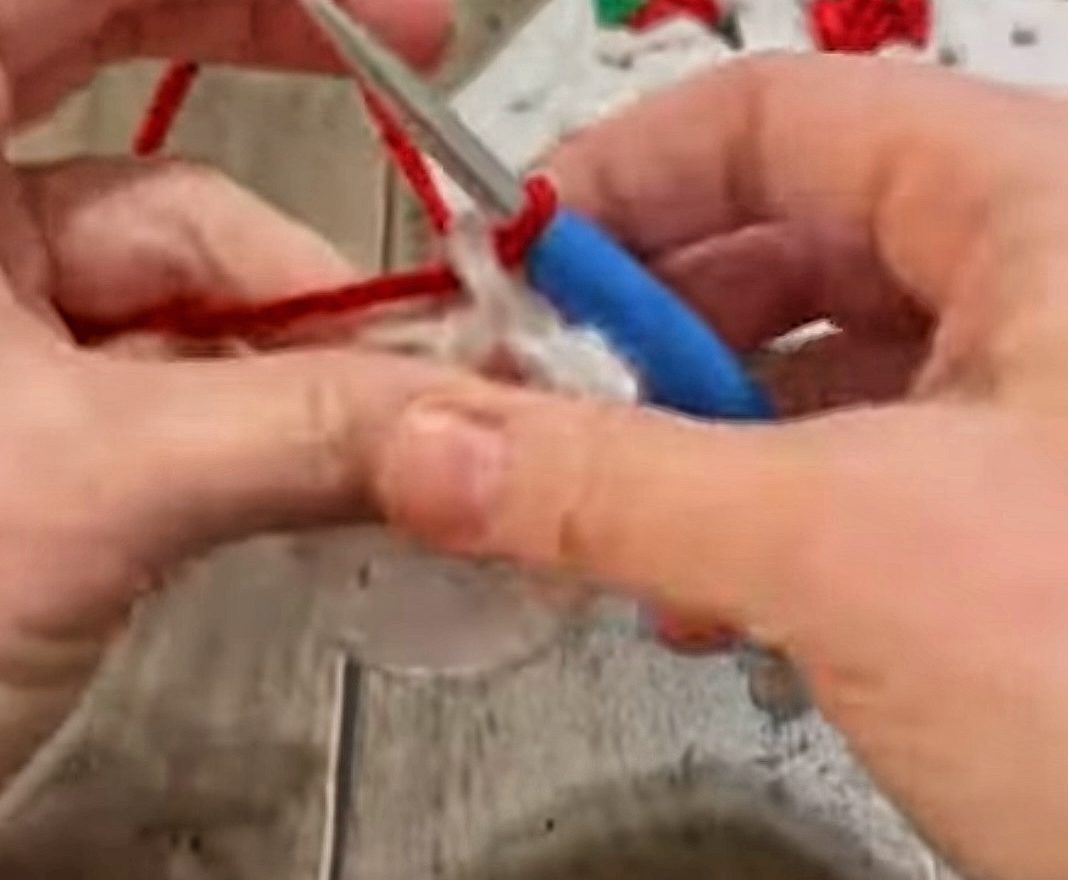
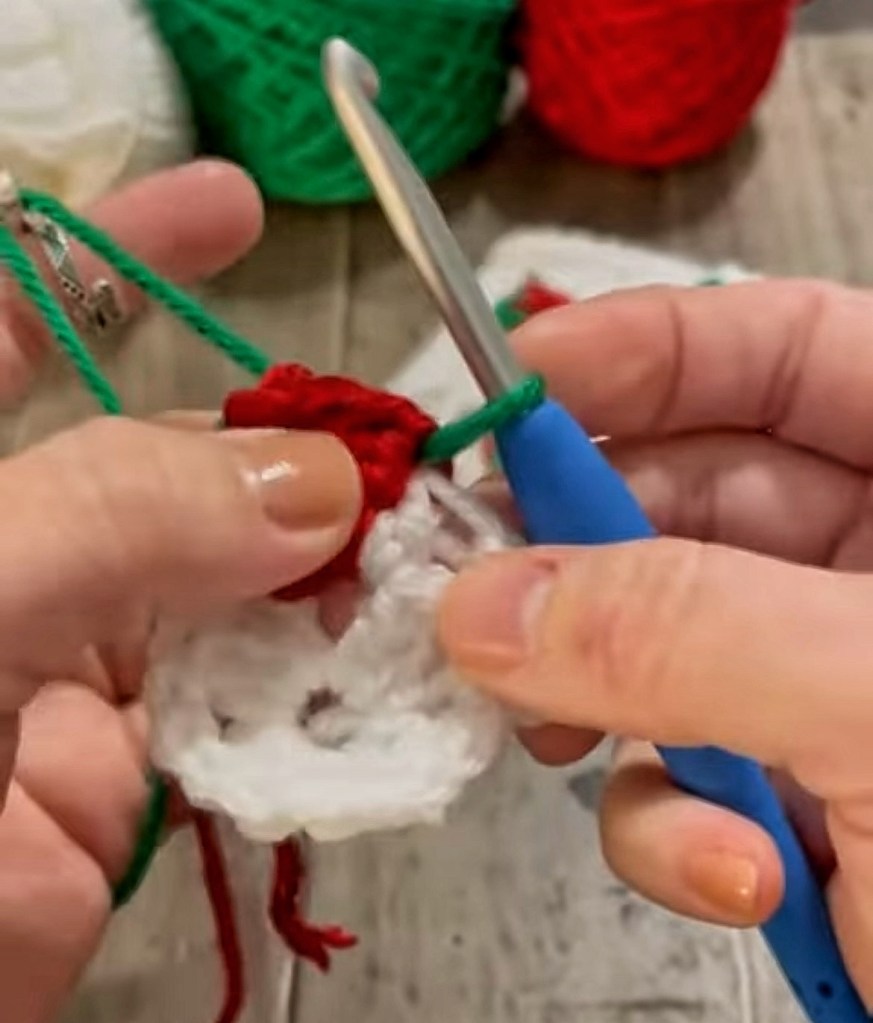
*** Strawberry Granny Stitch: White yarn. dc (on the last ‘pull through 2 loops’ of the dc, drop your white yarn and pull the red yarn through, picture 1, I apologize for the quality.)
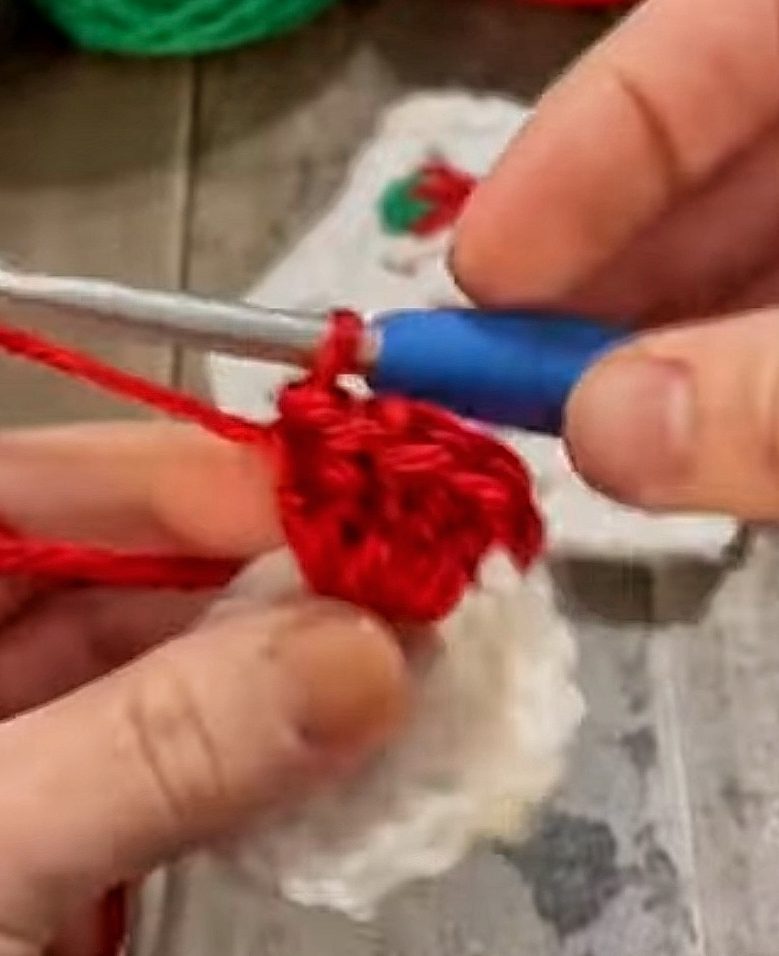
Red Yarn: 5dc into the same st or ch space, picture 2.
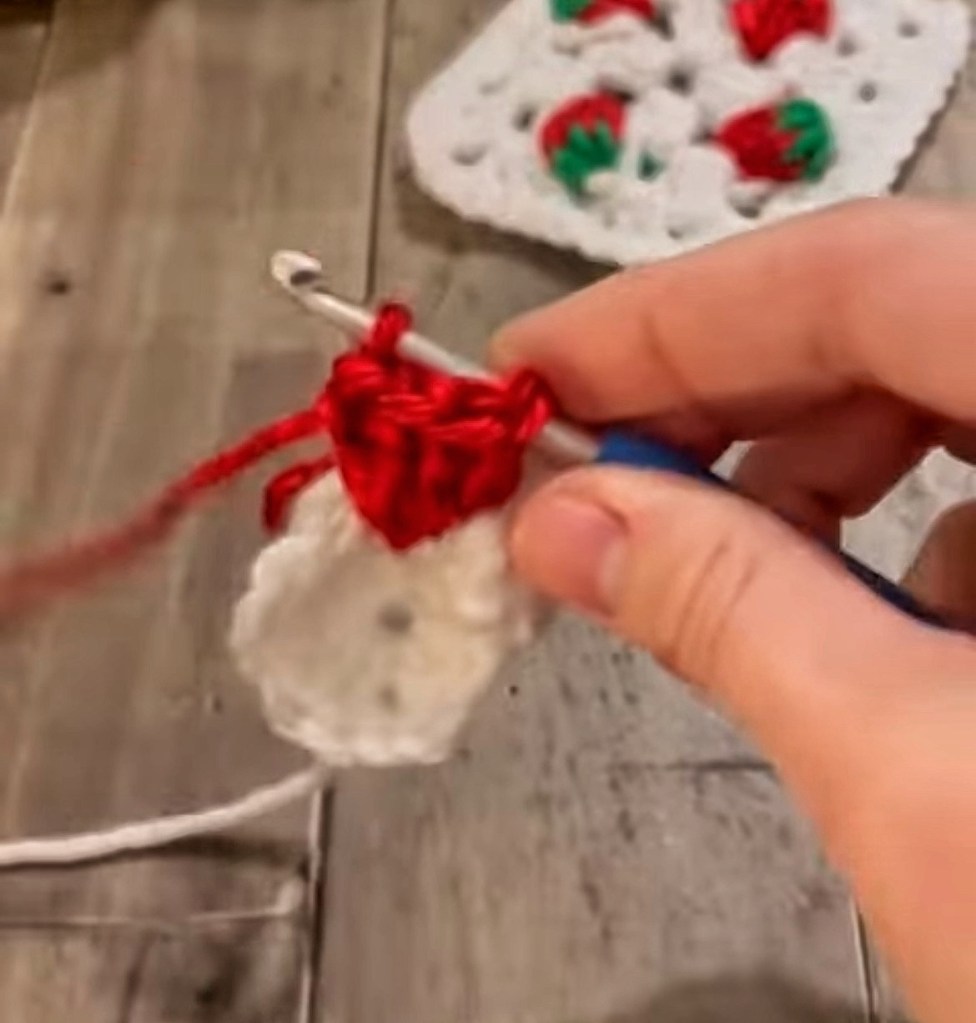
Pull hook out from red loop, leaving loop intact. Insert hook into the post of the first dc; if you pull the dc apart there will be two places to insert your hook, the top of the st and then there will be a horizontal piece that attaches the two st’s, the post will be under that horizontal attachment. Then insert hook back into the loop you left intact. Your hook will be behind the 5dcs, picture 3.
Green yarn. Pull up a loop going through the red loop then through the post of the 1st dc, picture 4. Then continue inserting your hook into the post of the next 4 dc’s and pulling up a loop. Keep the loops loose, you should have a total of 5 green loops on your hook, picture 5.
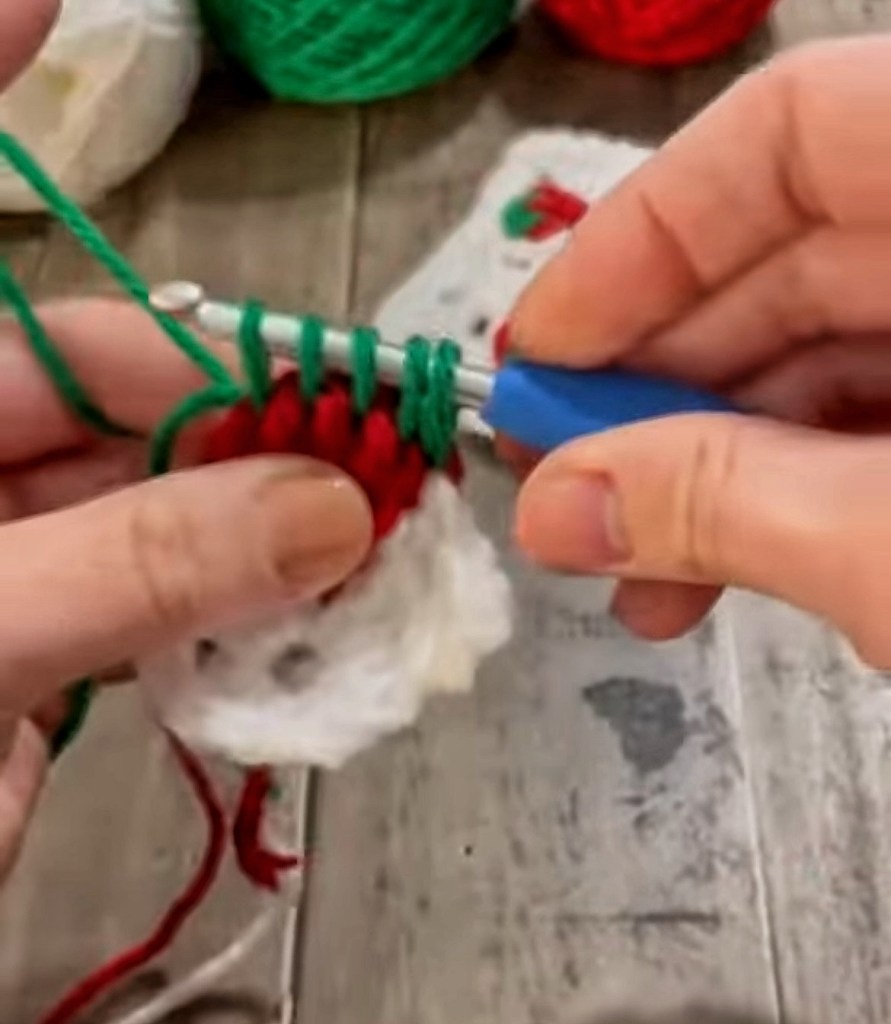
yo and pull through all 5 green loops, picture 6. Drop green yarn from hand, but keep green loop on hook.
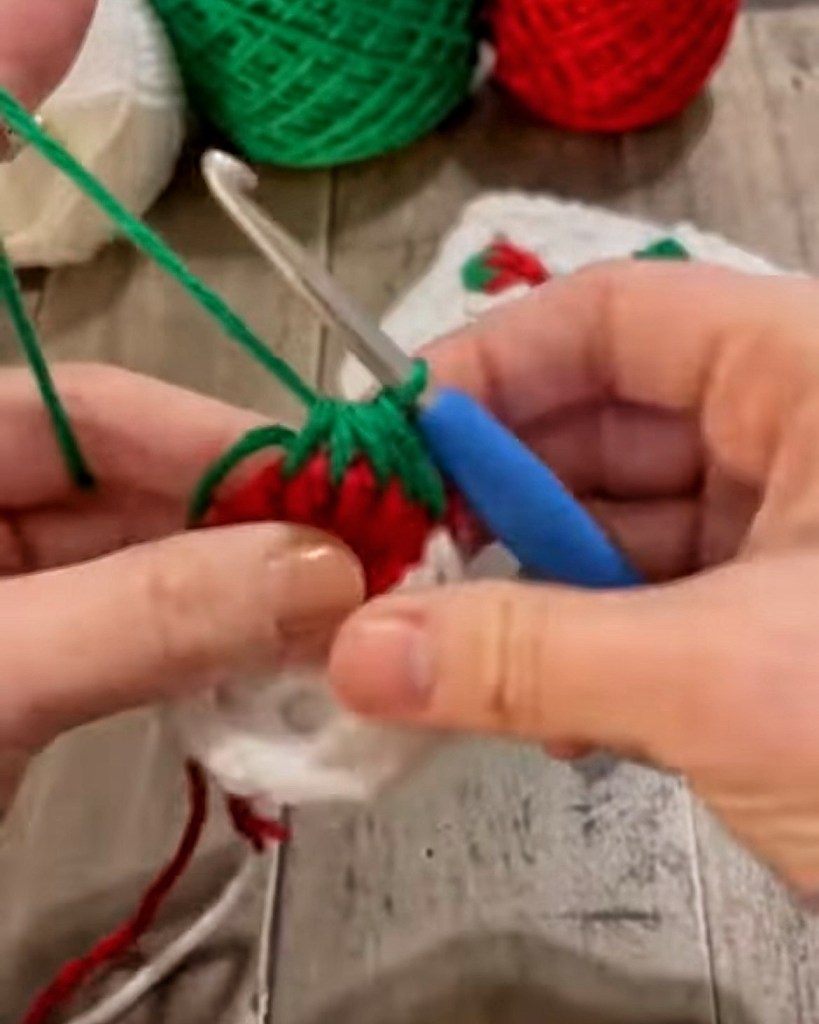
White yarn. Grab white yarn from the back, yo and pull up a white loop through your green loop, picture 7. Keeping the white yarn on your hook, and the white yarn in your hand, grab the green yarn and pull it tight, sinching the top of the “strawberry” together.
Finish your sgs with a dc. go back up to Row 2 instructions (sgs is counted as 3 st’s total)
Row 3: ch3, 2dc, (sk 3 st’s, gs, ch2, gs, sk 3 st’s, gs) x3, sk 3 st’s, gs, ch2, gs, ss to ch3 from the beginning or the row.
Finishing options: I crochet over the excess yarn on the last st. you can continue crocheting over the red and green yarn to the next sgs if you choose to. I have found that even though it means more ends to tie in, cutting the yarn after each sgs makes the cleanest finish. First reason I have decided it’s worth sewing in all those ends is because dragging the yarn over significantly decreases the stretch of the square. Second, tying in the ends of each strawberry gives you the ability to shape each strawberry. I synch in the bottom to make a better point to the strawberry, along with making sure the top is perfectly puckered.
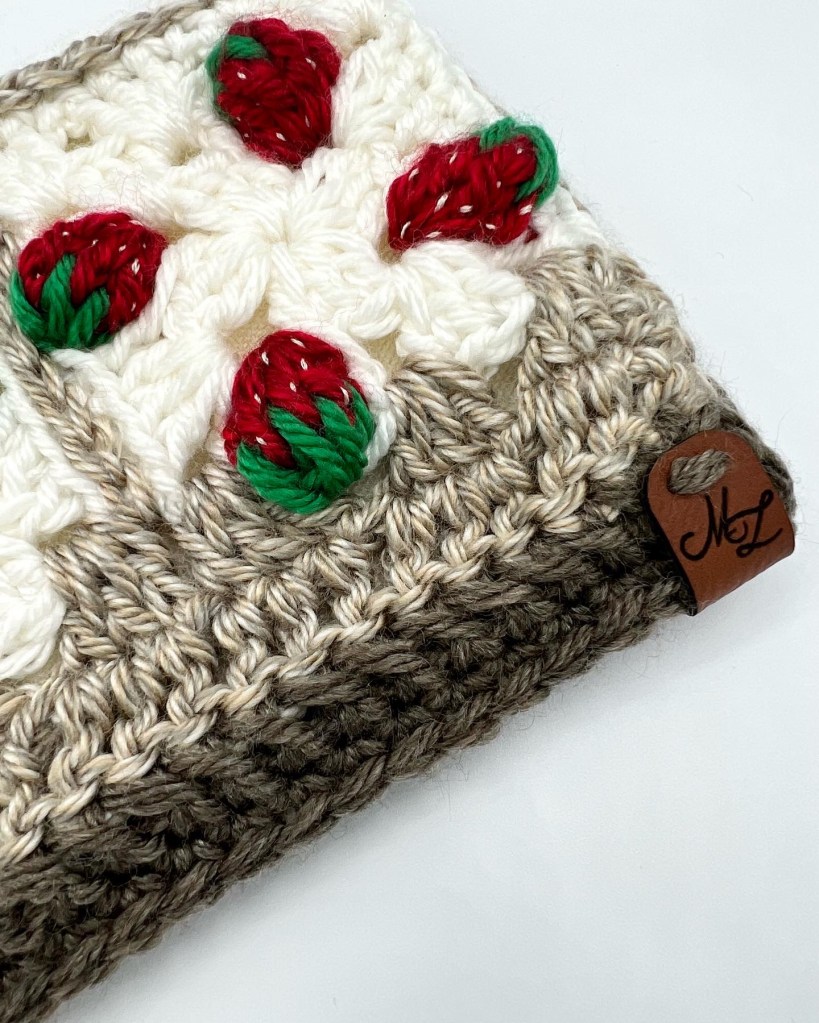
Check out all the ways the Strawberry Granny Square has been implemented below:
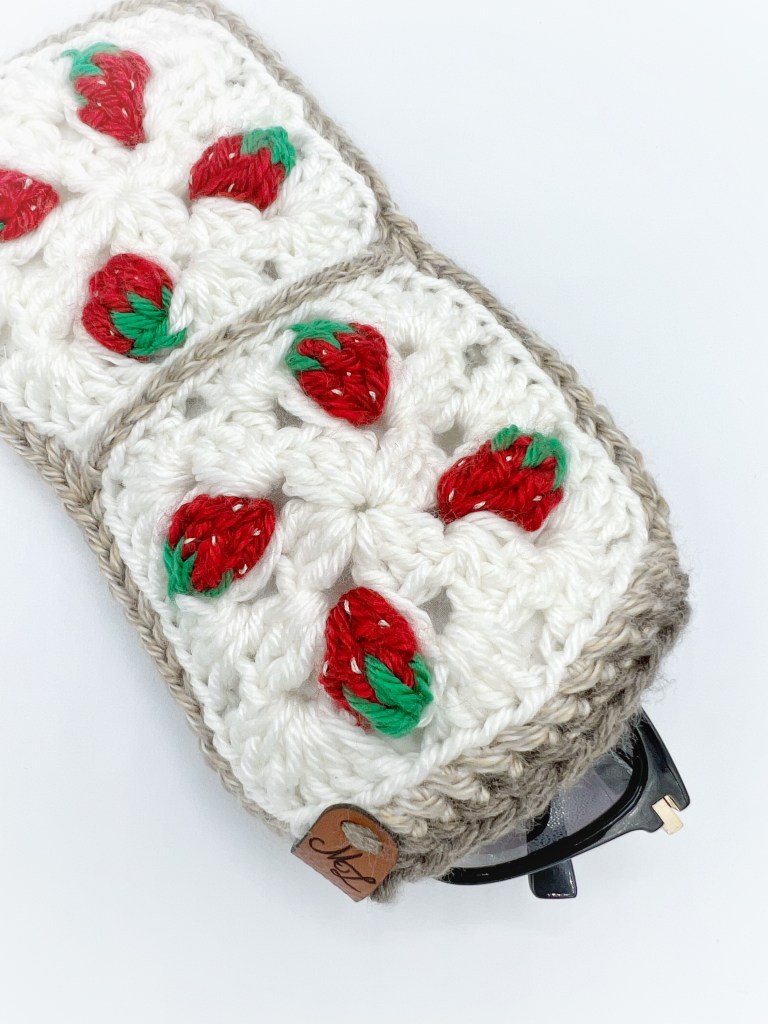
Add “seeds” with embroidery floss.
Check out what other makers have done with our pattern!
Copyright Notice
© 2026 Lee & Me (formerly MissEverLee Designs). All rights reserved.
This crochet pattern is the intellectual property of Lee & Me and is provided for personal, non-commercial use only.
You may sell finished physical items made from this pattern. However, the pattern itself may not be copied, altered, translated, distributed, sold, shared, or republished in whole or in part, in any format, including print or digital.
If you wish to share this pattern, please direct others to our official website or corresponding YouTube video rather than distributing the pattern directly.
Thank you for respecting our creative work and supporting handmade design.


Leave a comment